

If you’re experiencing audio problems on your Windows 11 computer, resetting all audio settings could be a solution. Resetting audio settings can help to troubleshoot issues with your speakers, headphones, or microphones. In this blog post, we’ll go through the step-by-step process of resetting all audio settings on Windows 11.
How To Reset All Audio Settings Windows 11
1. Open the Windows Settings App
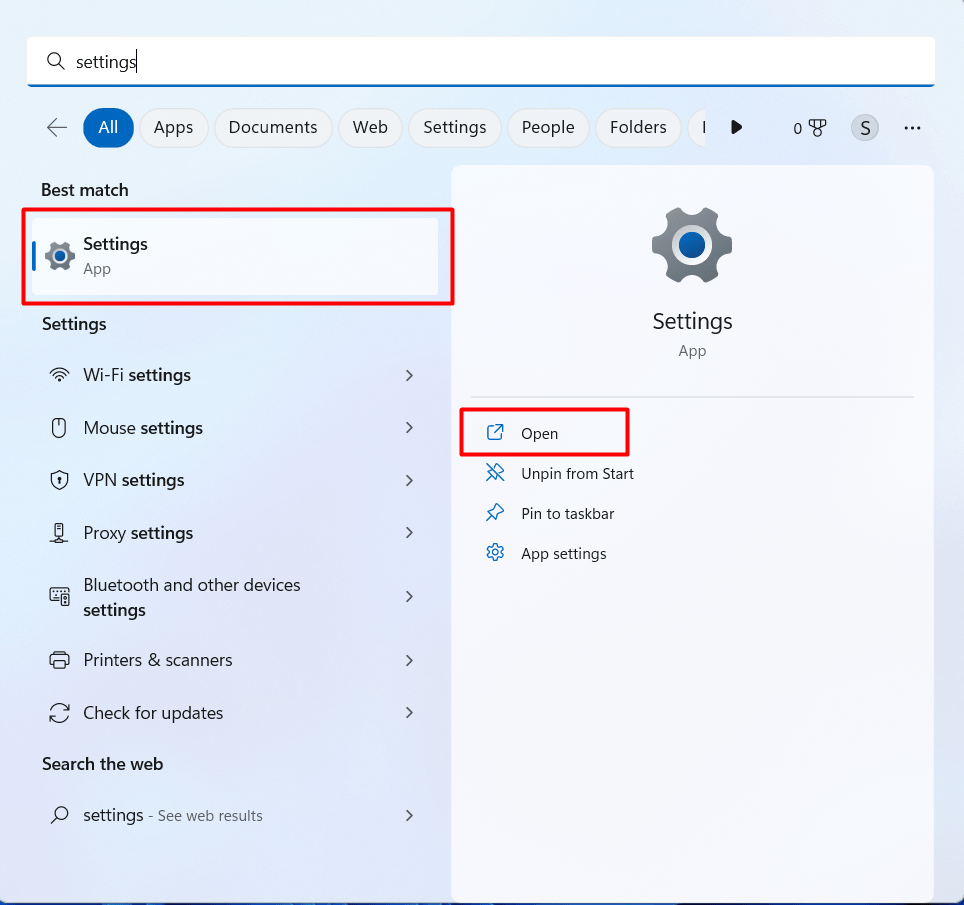
To reset audio settings in Windows 11, you’ll first need to open the Settings app. You can do this by clicking on the Start button in the bottom left corner of the screen and then clicking on the Settings icon (gear icon) in the Start menu.
2. Go to the System Settings

In the Windows Settings app, click on the System tab on the left-hand side of the screen. This will take you to the system settings page where you can access a variety of settings for your computer.
3. Click on Sound
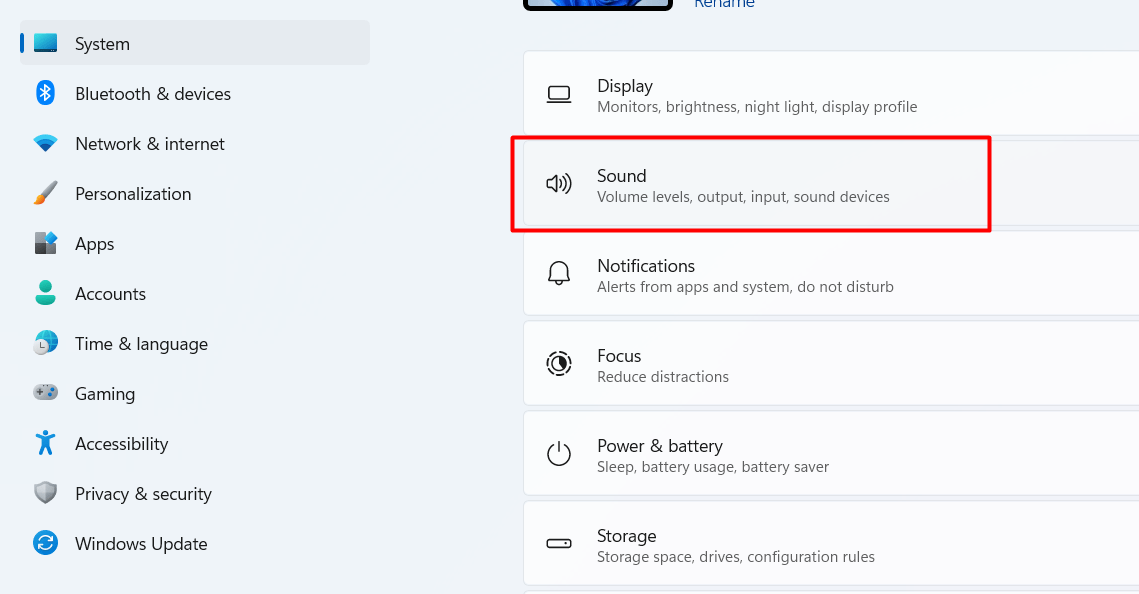
Under the System tab, you’ll find the Sound settings. Click on it to access the audio settings for your computer.
4. Scroll down and click on “Advanced Sound Options”

In the Sound settings, you’ll see various options related to audio devices, input and output settings. Scroll down to the bottom of the page, and under “Volume Mixer” click on “Advanced sound options.”
5. Reset All Audio Settings

On the Advanced Sound Options page, you’ll see an option to “Reset” the audio settings. Click on the “Reset” button to reset all audio settings on your computer.
6. Restart your computer
Once you’ve reset the audio settings, it’s a good idea to restart your computer to ensure that the changes take effect. You can restart your computer by clicking on the Start button in the bottom left corner of the screen, clicking on the power icon, and selecting “Restart” from the dropdown menu.
7. Test your audio settings
After your computer has restarted, you should test your audio settings to ensure that everything is working properly. You can do this by playing a sound or video file and checking to see if you can hear the audio.
Will my custom settings be lost if I reset Windows Sound?
If you reset Windows Sound, any custom settings you have made will likely be lost. Resetting Windows Sound typically involves restoring the default settings for audio devices, which can include resetting volume levels, audio output settings, and other audio-related preferences.
If you want to keep your custom settings, it’s a good idea to backup or take note of your current audio settings before resetting Windows Sound. This way, you can easily restore your custom settings once the reset is complete.
To backup your audio settings, you can use the Windows built-in backup tool or third-party backup software. Alternatively, you can simply take screenshots or write down your audio settings manually.
How do I reset my audio settings to default?
The steps to reset your audio settings to default may vary depending on the operating system you are using. Here are some general steps that you can follow:
- Right-click on the speaker icon in the system tray.
- Select “Open Sound settings”.
- Click on “Sound Control Panel” on the right-hand side of the settings window.
- Select the audio device you want to reset and click on “Properties”.
- Click on the “Advanced” tab.
- Click on “Restore Defaults”.
How do I reset my Windows audio Service?
Here are the steps to reset the Windows Audio Service:
- Press the Windows key + R to open the Run dialog box.
- Type “services.msc” and press Enter.
- Scroll down to the Windows Audio service and right-click on it.
- Select “Restart” from the context menu.
- Wait for the service to restart. This may take a few seconds.
- Close the Services window and try playing audio again.
If restarting the Windows Audio service does not solve the problem, you may need to update your audio drivers or troubleshoot further.
Do I need to restart my device after performing a sound reset in Windows 11?
It’s possible that you may need to restart your device after performing a sound reset in Windows 11, but it’s not always necessary.
Performing a sound reset in Windows 11 typically involves resetting the audio settings and drivers to their default configurations. This can help resolve any sound-related issues you may be experiencing.
After performing the reset, you should test your audio to see if the problem has been resolved. If you’re still experiencing issues, you may need to restart your device to ensure that all changes are properly applied and that the audio system is functioning correctly.
In some cases, Windows 11 may prompt you to restart your device after performing a sound reset. If you see this prompt, it’s recommended that you follow it to ensure that any necessary changes are fully applied.
Overall, whether or not you need to restart your device after performing a sound reset in Windows 11 can depend on the specific issues you’re experiencing and the changes that were made during the reset process.
Conclusion
Resetting all audio settings on Windows 11 can be a simple and effective way to troubleshoot audio issues on your computer. By following the step-by-step process outlined in this blog post, you should be able to reset all audio settings on your Windows 11 computer in just a few minutes. If you’re still experiencing audio problems after resetting the settings, you may need to troubleshoot further or contact technical support for additional assistance.